
How to Set Up a Proxy in NstBrowser: A Step-by-Step Guide
Use NstBrowser to unlock web scraping and multi-account management simultaneously
Jul 5, 2024


Discover the ultimate guide to Incogniton Browser. Learn how to set up multiple profiles, integrate proxies, and explore automation features with our step-by-step instructions.
In today's digital age, maintaining online privacy and managing multiple online identities is more crucial than ever. Enter Incogniton, the cutting-edge anti-detect browser designed to safeguard your anonymity and streamline your web experience. Whether you're a privacy-conscious individual or a professional managing numerous accounts, Incogniton offers the perfect solution.
Our comprehensive guide will take you through the essential features of Incogniton and provide a detailed, step-by-step setup process to help you master this powerful tool quickly and efficiently.

Incogniton is a privacy-focused browser launched in 2019 that offers several features for anonymous browsing:
Create and manage unique virtual profiles, each with distinct fingerprints (geolocation, OS, etc.) and isolated browsing data. Ideal for managing multiple accounts, web scraping, and ad verification.
By combining with proxy servers like GoProxy, Incogniton can effectively cloak your actual IP address by rerouting your internet traffic, thereby bolstering anonymity. Incogniton seamlessly integrates with HTTP(S), SOCKS4, and SOCKS5 proxy servers, allowing you to direct your internet traffic through various proxy servers for each profile.
Incogniton streamlines tasks with its integration with Selenium Python, empowering users to automate browser operations and save valuable time. Moreover, it incorporates a unique feature that mimics human typing behavior when completing website forms, elevating the browsing experience to new heights.
Incogniton offers a free plan that includes up to 10 free profiles, perfect for individual users and small teams. However, for larger teams or those in need of extra features, paid plans are also available.
Incogniton provides versions for both Windows and Mac operating systems. Visit the official site to download the version that suits your device.
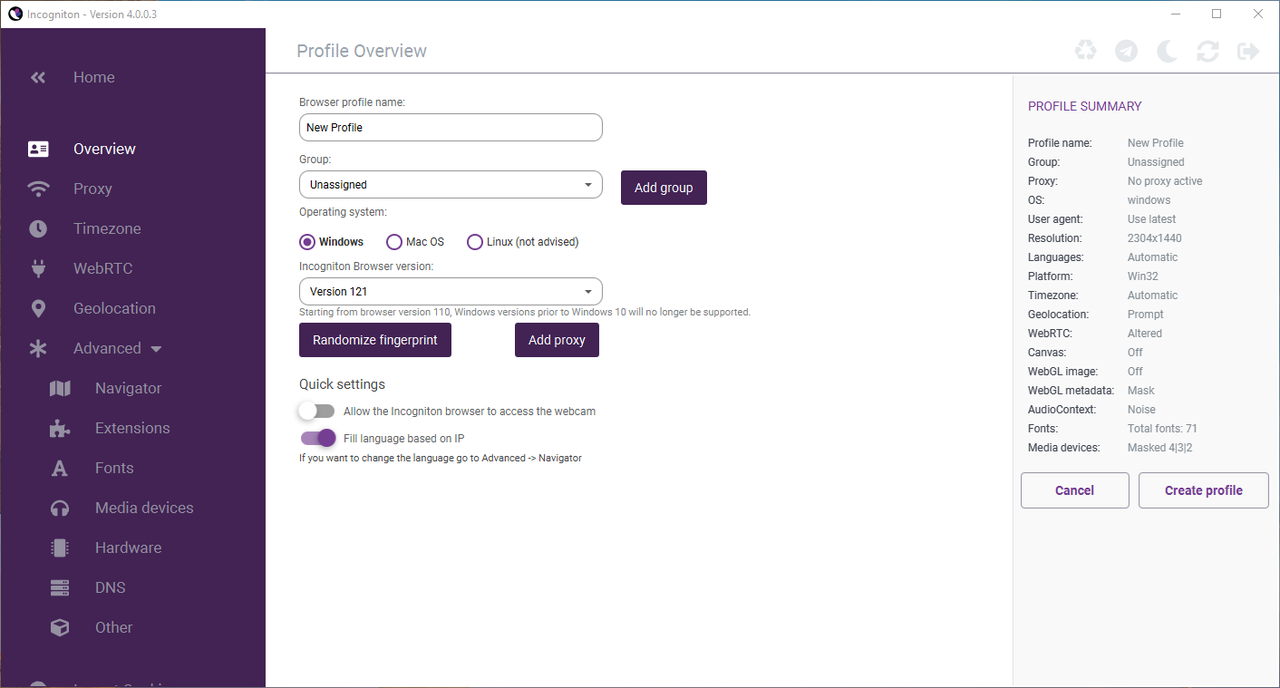
Once your download is complete, to start using Incogniton, you'll need to create a browser profile.

After that, you'll be directed to the overview page of the new browser profile. Here, you can:
Sign up for a 7-day Free Trial or purchase a plan from $1.5/GB in GoProxy.
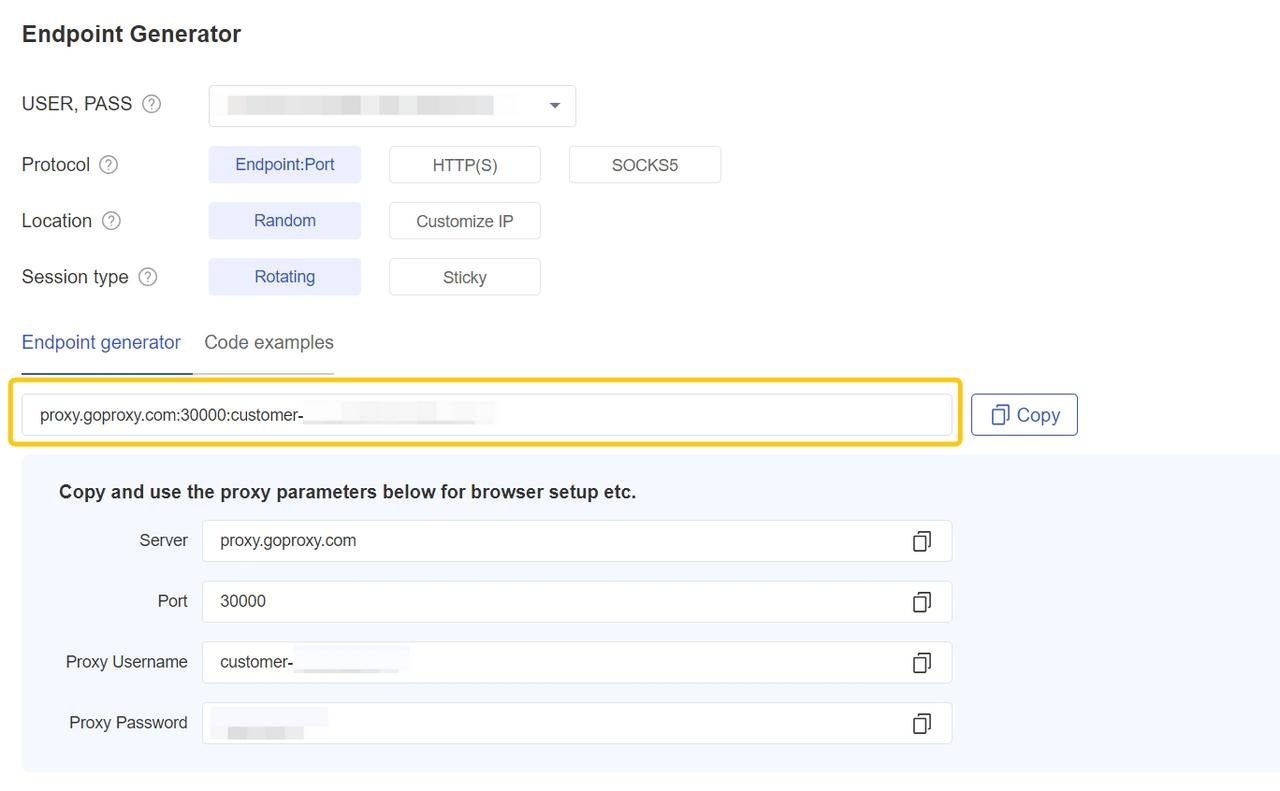
Then just follow the steps.
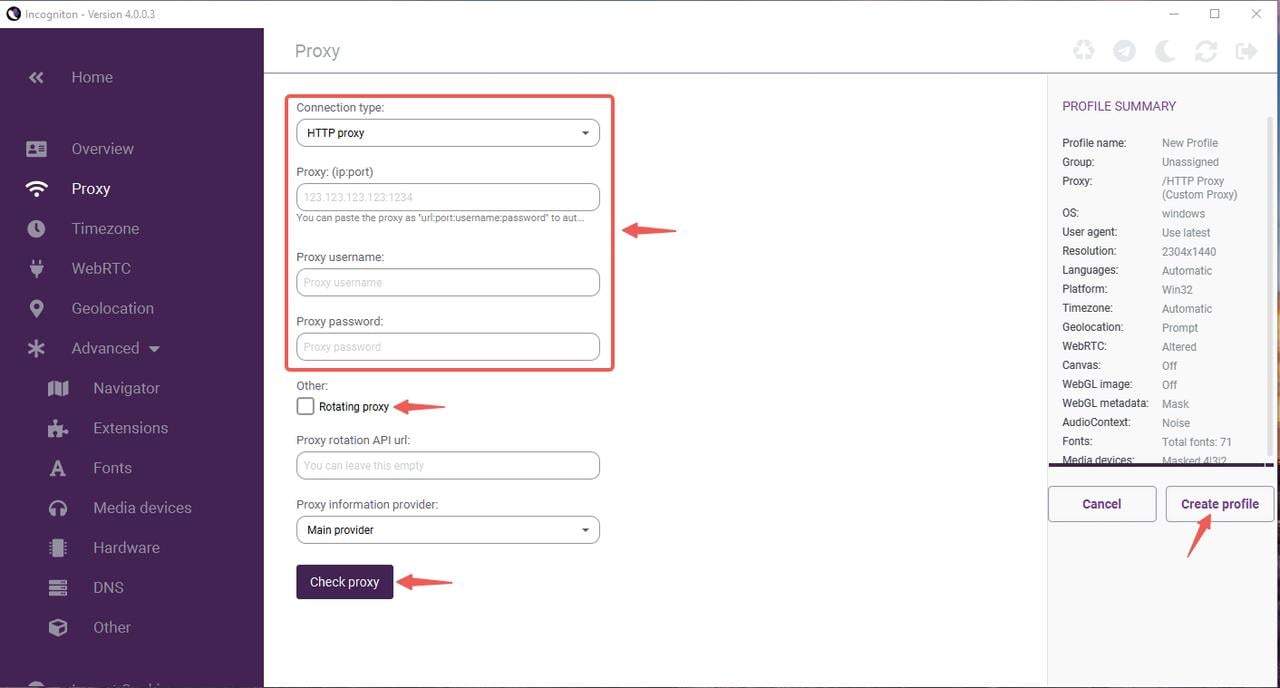
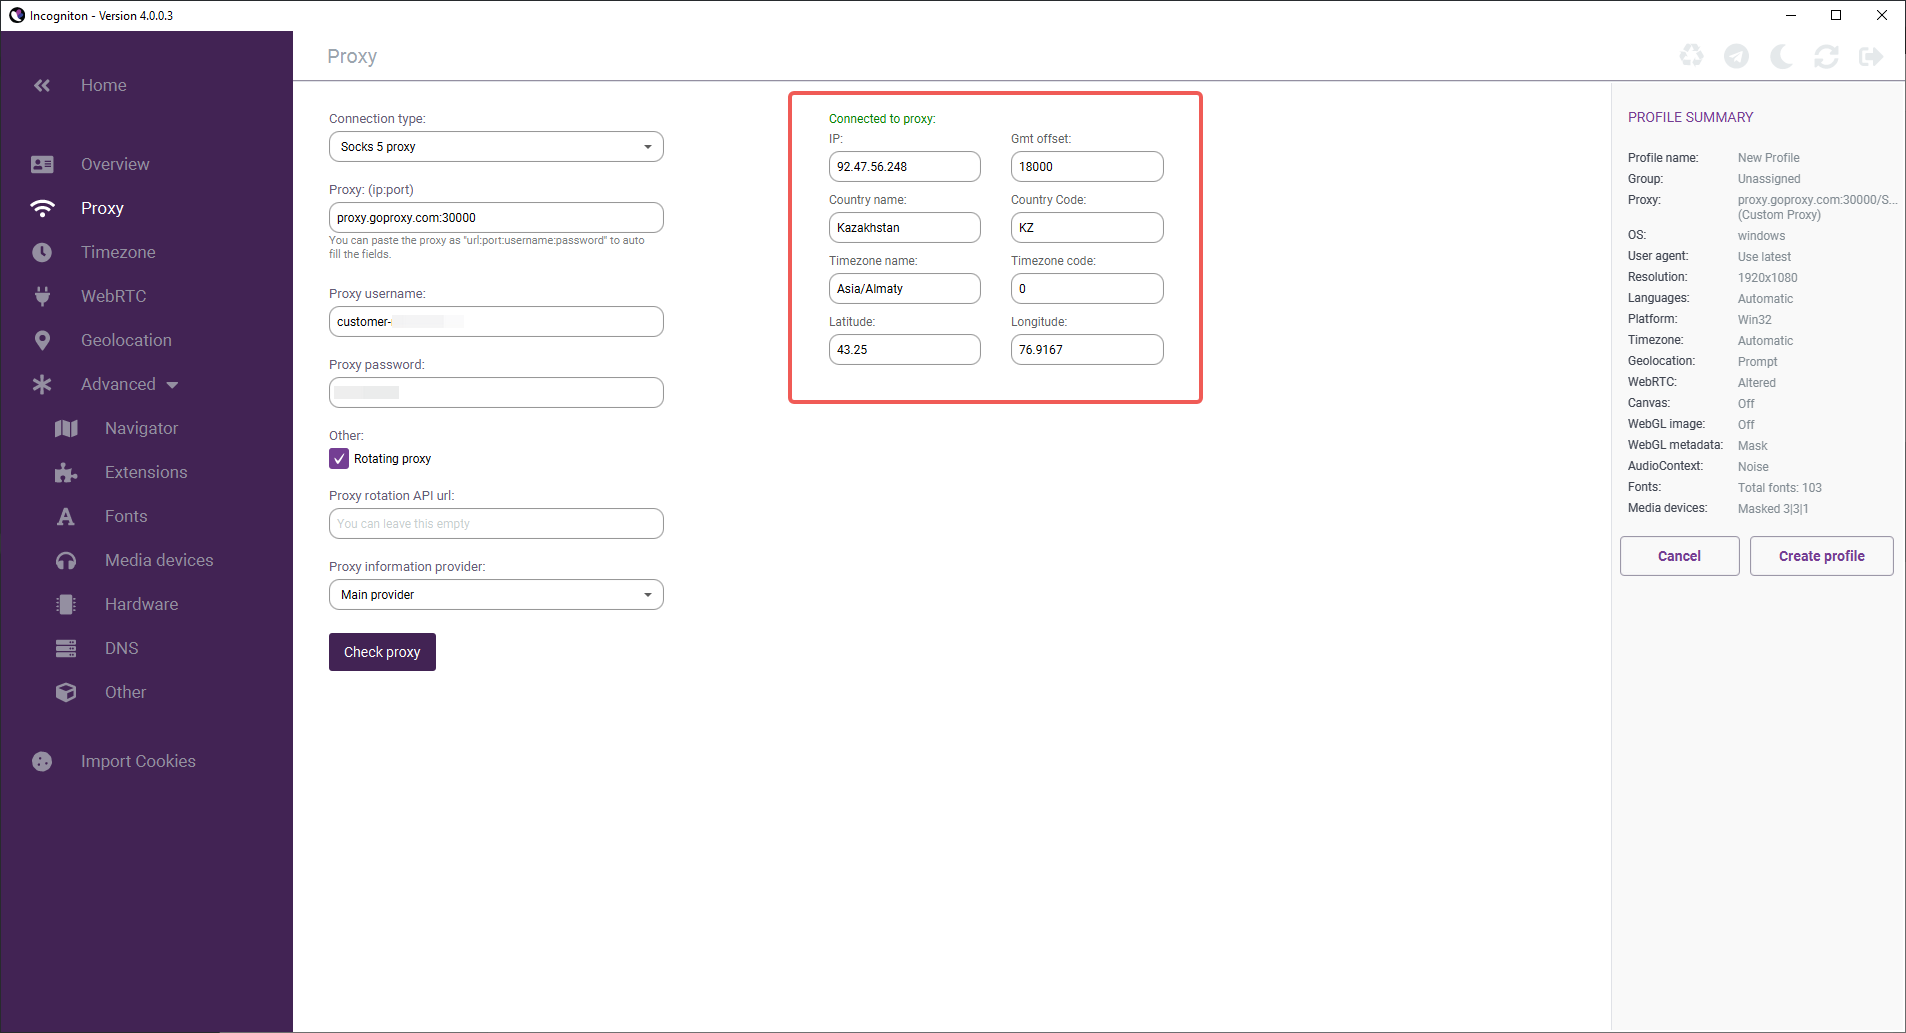
Before "Create Profile", you can also click "Check Proxy" to verify its functionality. If the connection is successful, it will display "Connected to proxy" along with the following proxy information:
Once you've completed these steps, your browser profile with the proxy settings is ready to use!
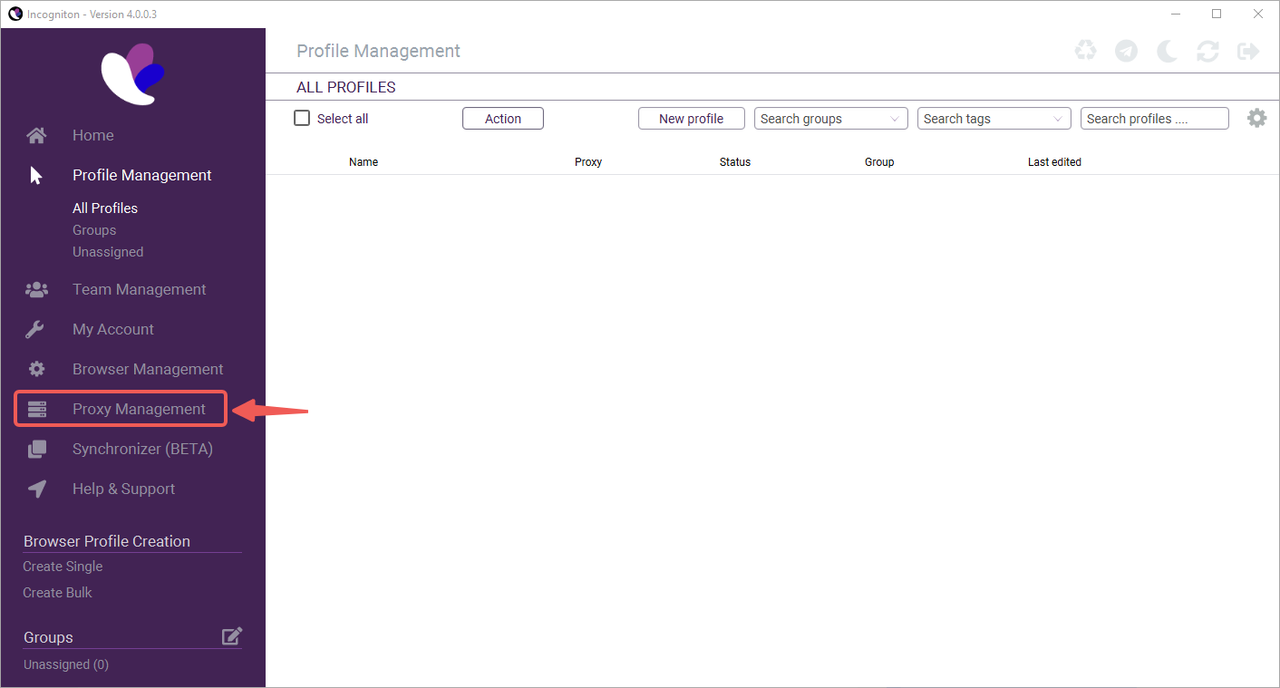
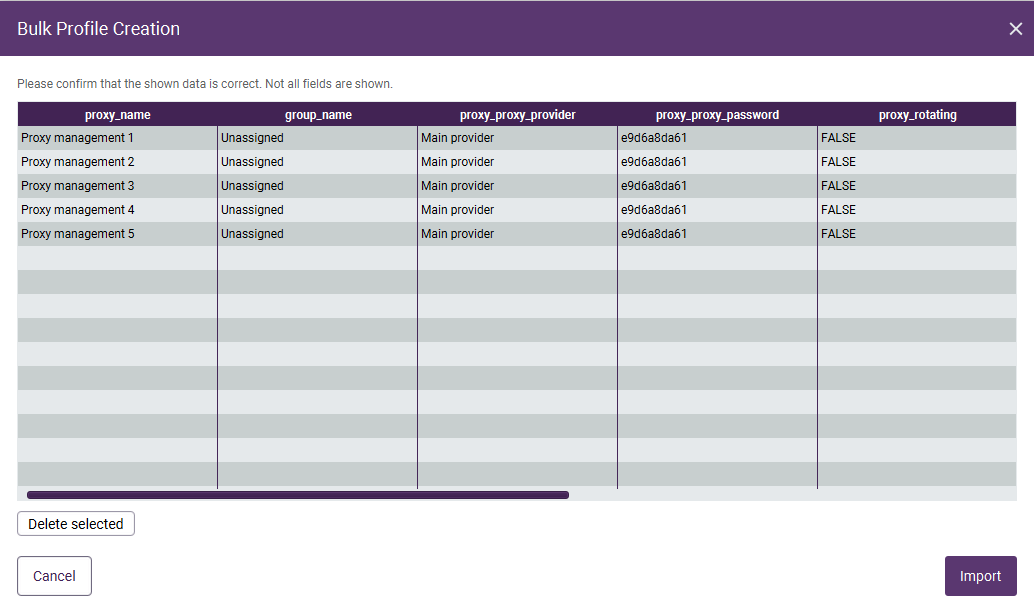
You also have the option to add proxies in bulk, which allows you to easily add all the proxies you use to Incogniton with just a few clicks. To do this, just follow these steps:
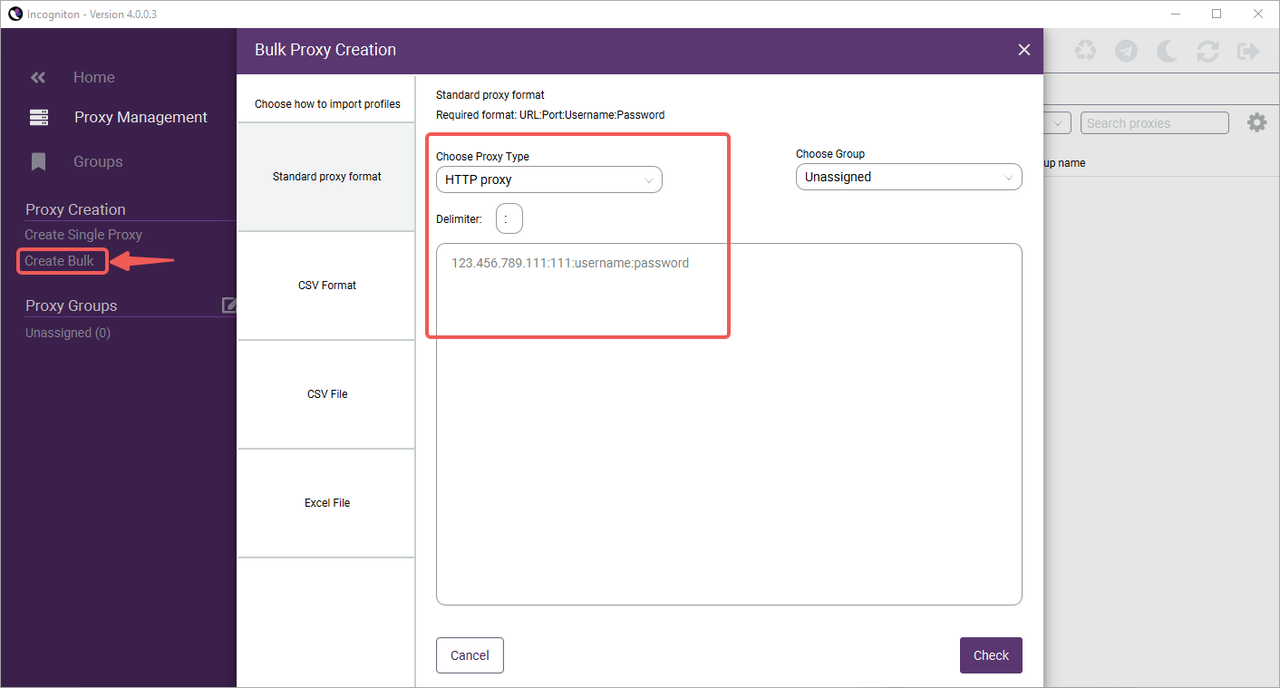
1. Download the template from Incogniton.
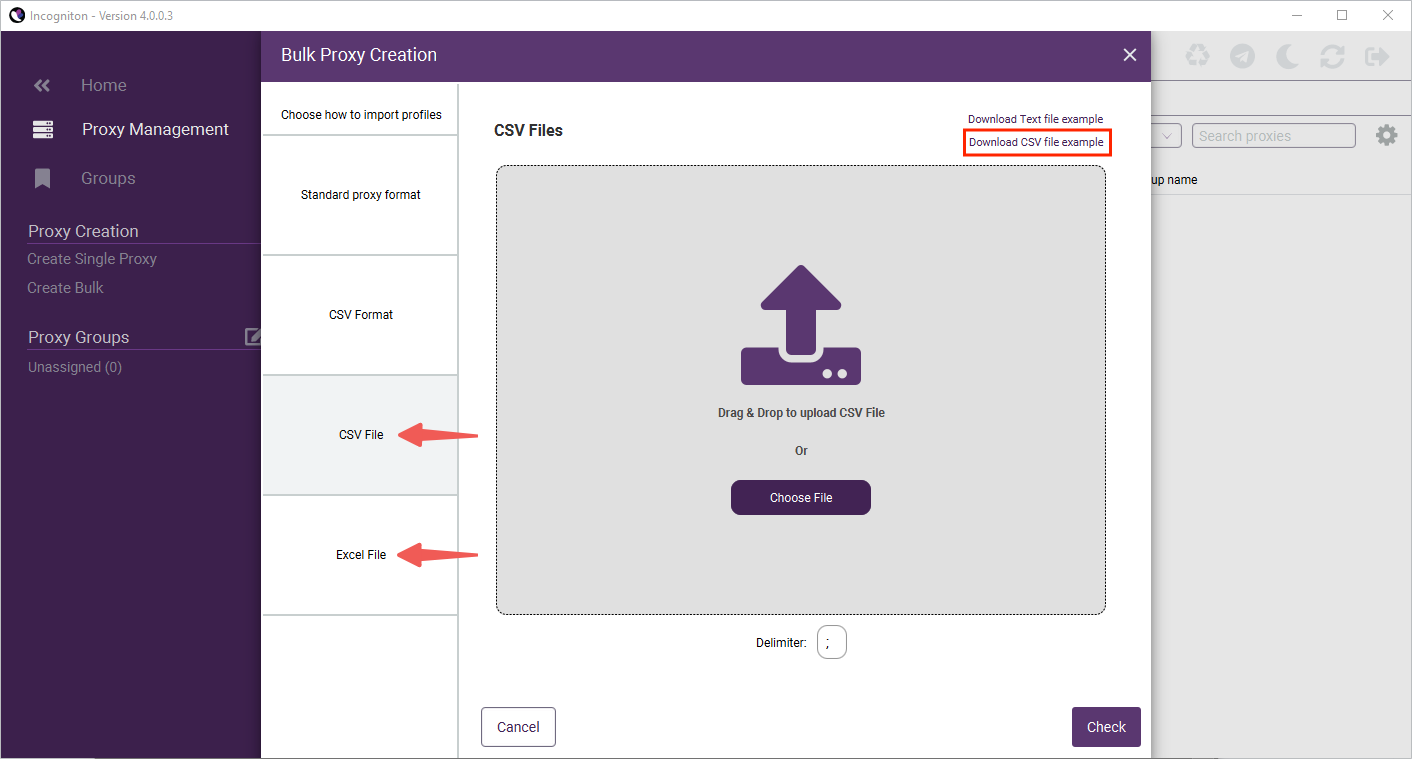
2. Fill out the template and save it on your computer.

3. Upload the completed CSV or Excel file.
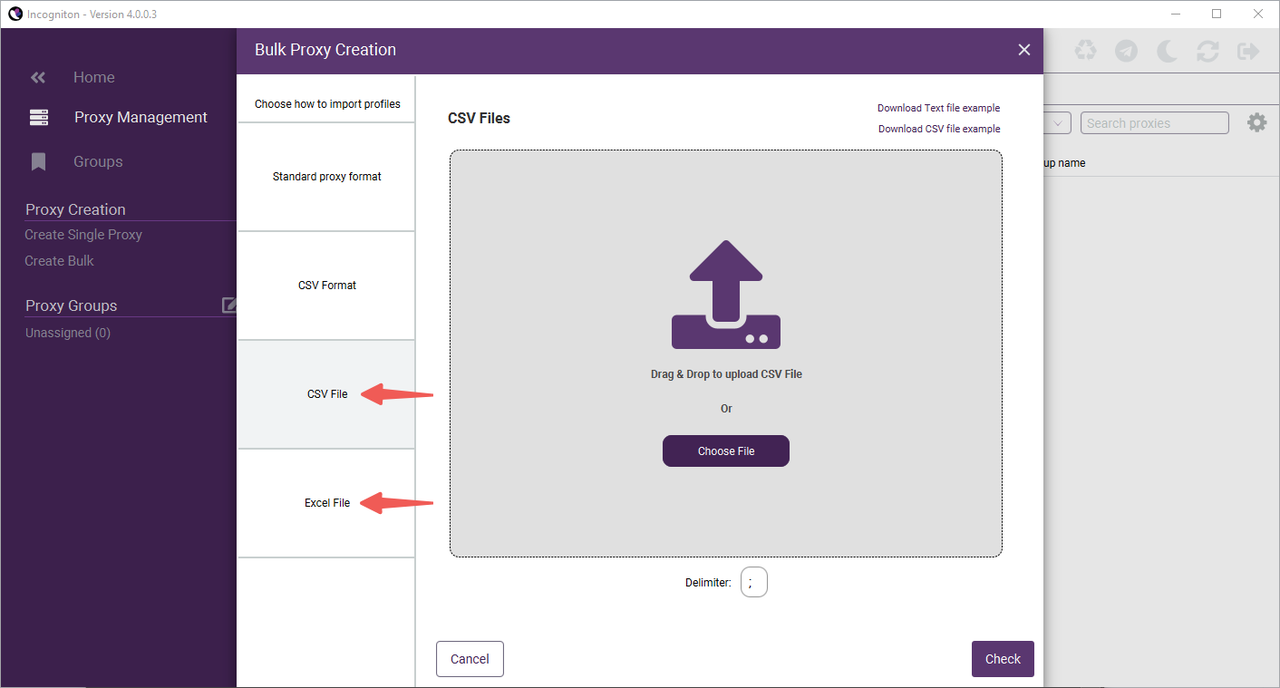
4. Specify the delimiter character if needed (default: semicolon). Finally, click on "Import" and the proxies are saved.
Incogniton, coupled with the power of GoProxy, equips you with an impenetrable shield for anonymous web browsing. Whether you opt for the free or paid plan, our guide ensures you'll be able to navigate the setup process effortlessly. Embrace the future of anonymous browsing with Incogniton and take control of your online presence like never before.
< Previous
Next >


 Cancel anytime No credit card required